
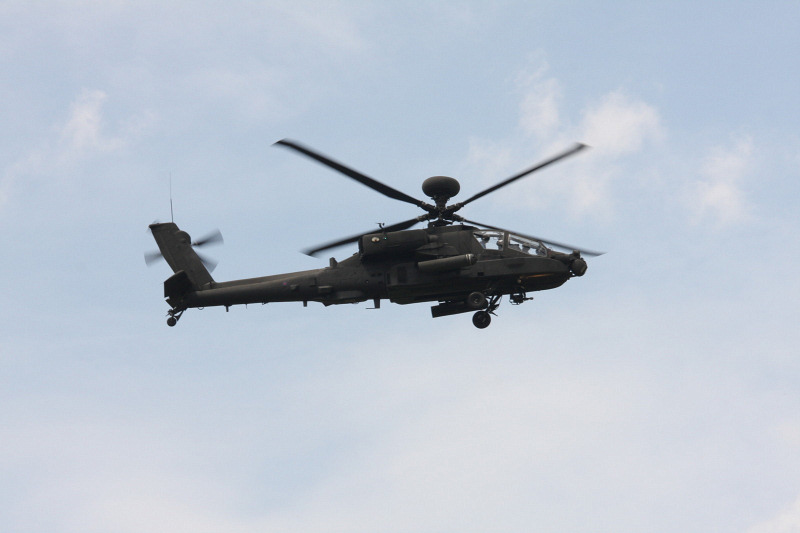
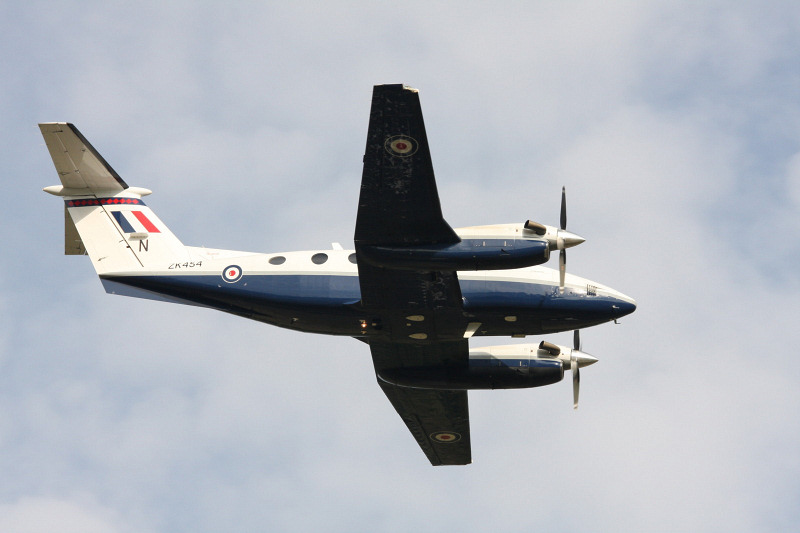
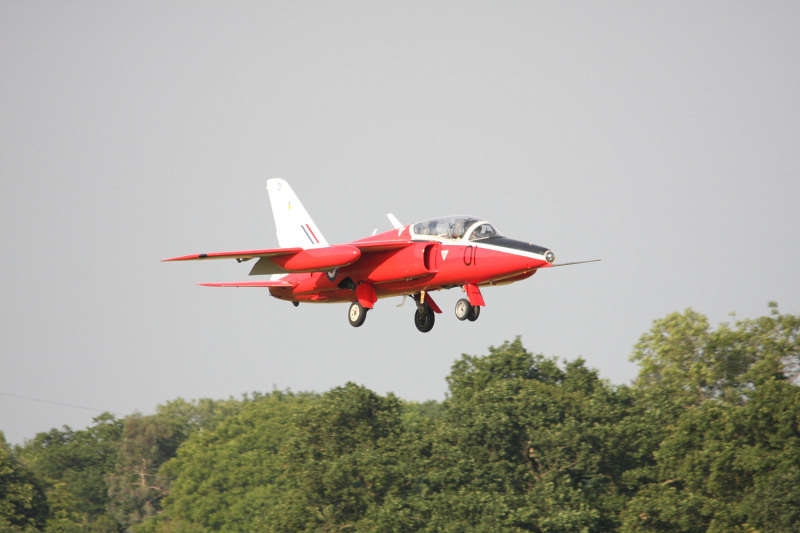
| Aerostars | Apache | King Air | F-86 Sabre | Folland Gnat | ||||||
 |
 |
 |
 |
 |
||||||
| Folland Gnat | Folland Gnat | Alpha Jet | Spitfire | Tutor T1 | ||||||
 |
 |
 |
 |
 |
||||||
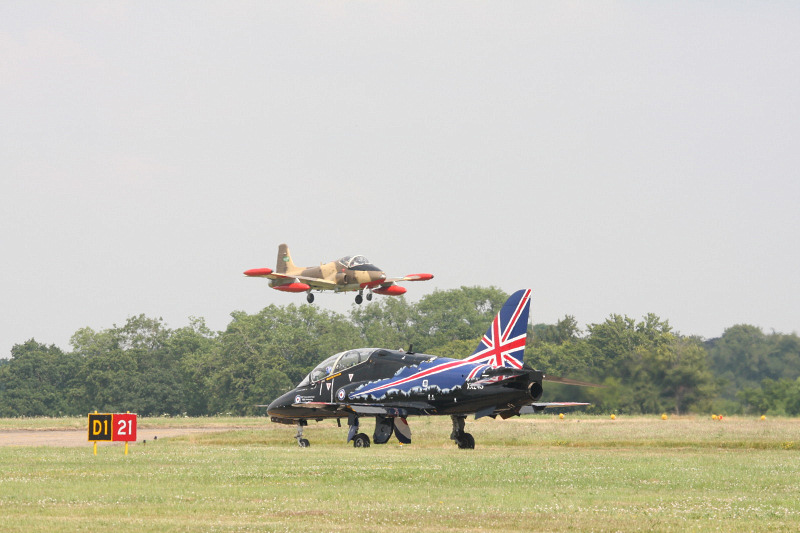
| Hawk & Strikemaster | Hawker Nimrod | Hawker Nimrod | Hawk T1 | KC-135 | ||||||
 |
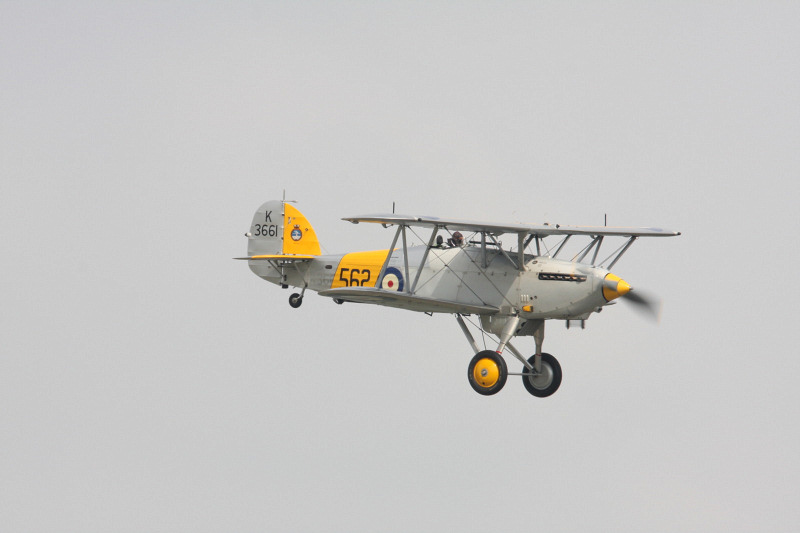 |
 |
 |
 |
||||||
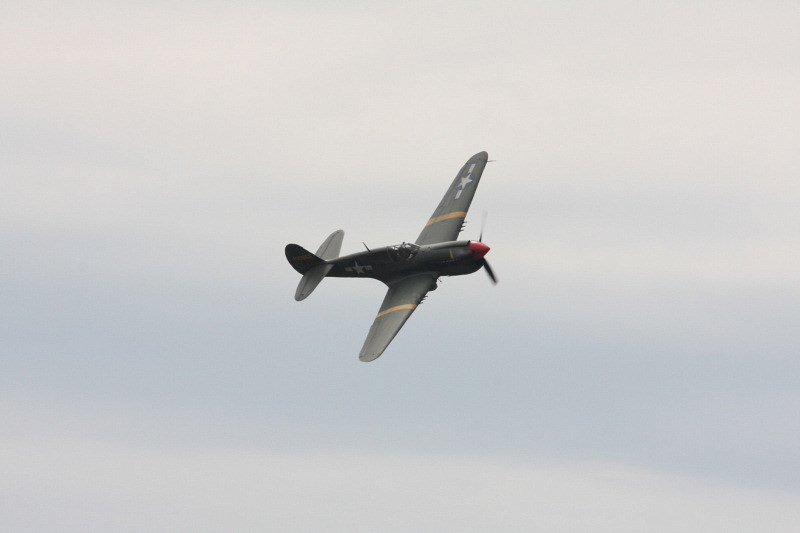
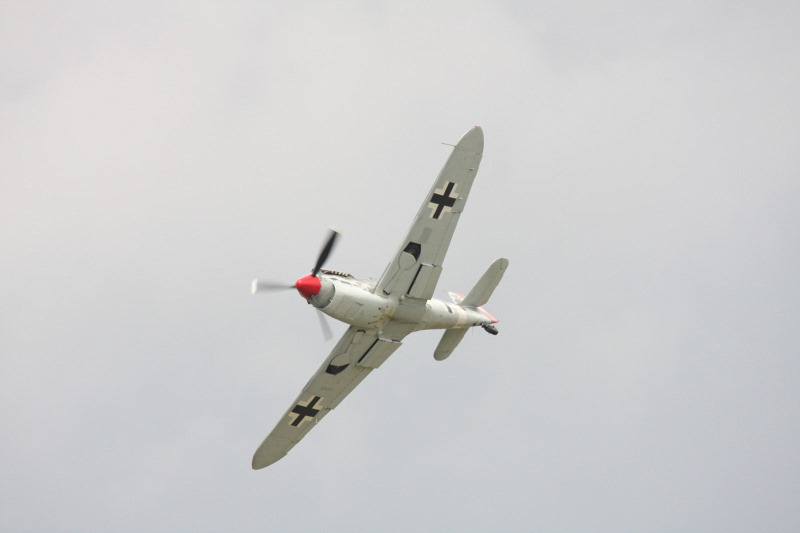
| P-40 Kittyhawk | Matadors | Me-109J | Merlin | Hunter | ||||||
 |
 |
 |
 |
 |
||||||
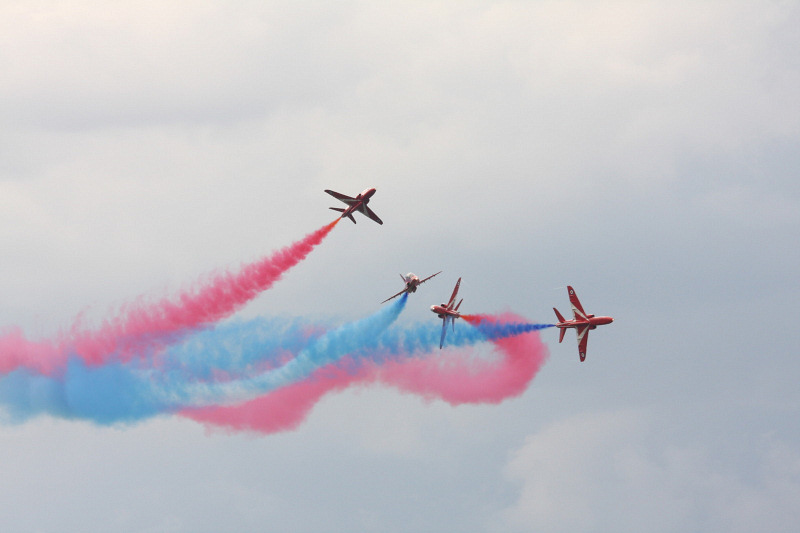
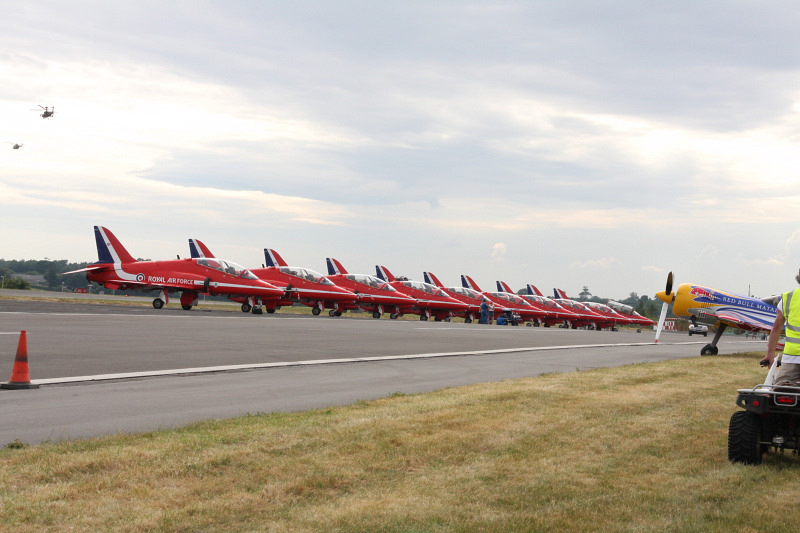
| Hunter | P-51 Mustang | Red Arrows | Red Arrows | Red Arrows | ||||||
 |
 |
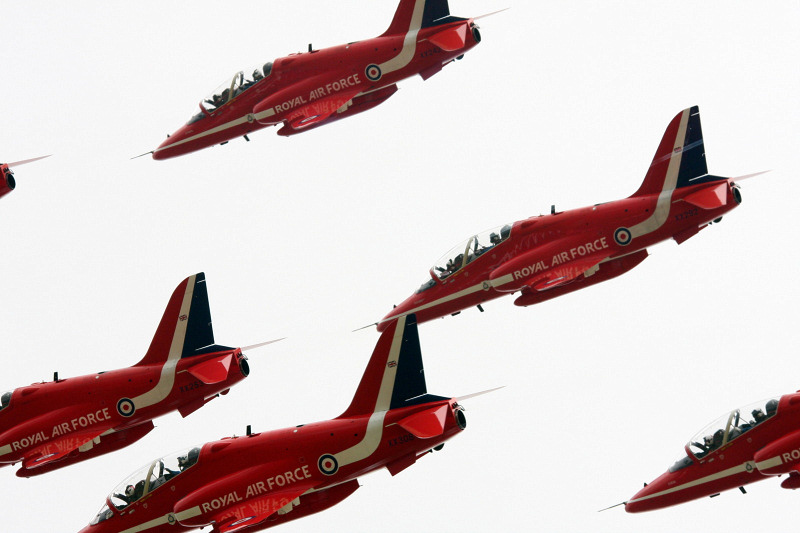 |
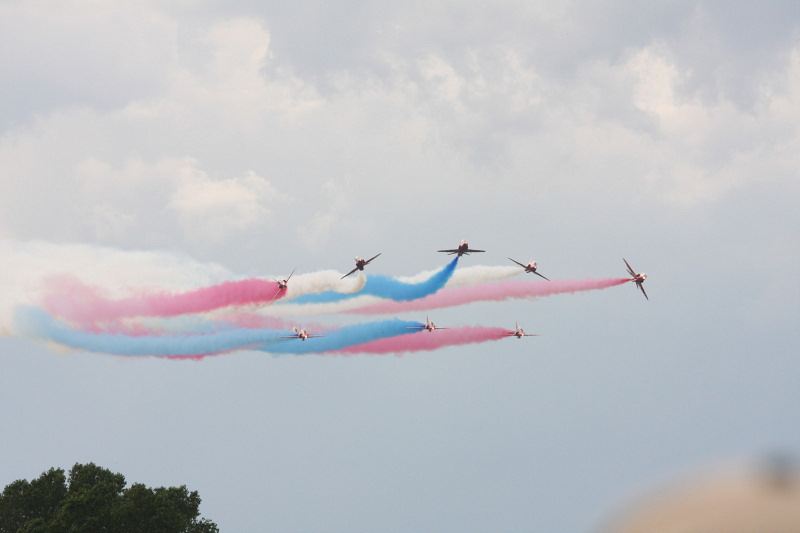 |
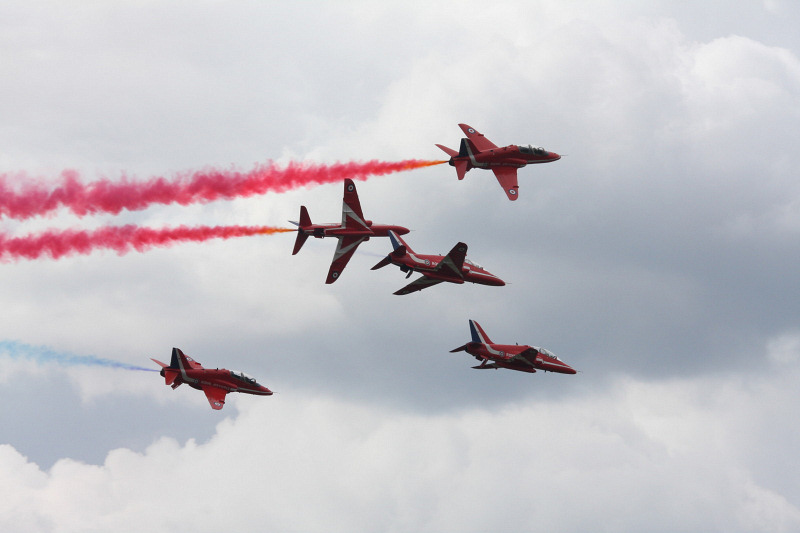 |
||||||
| Red Arrows | Red Arrows | Red Arrows | Red Arrows | Sea Vixen | ||||||
 |
 |
 |
 |
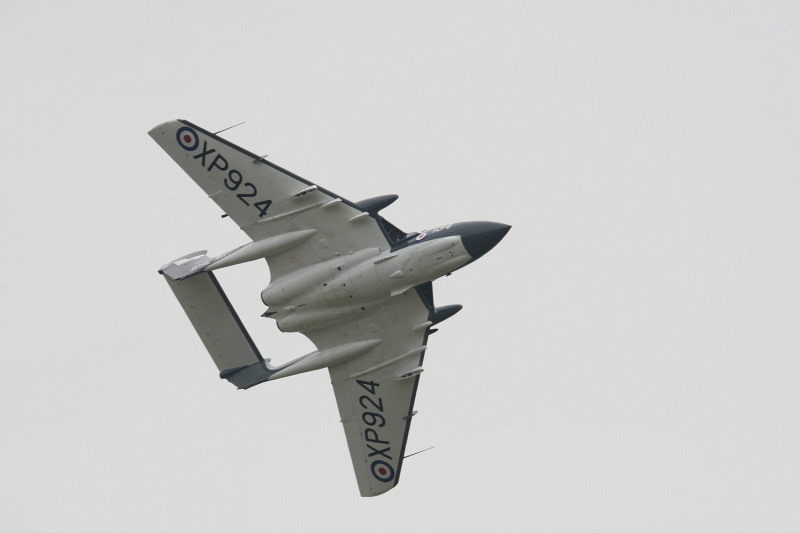
 |
||||||
| Sea Vixen | Sea Vixen | Sea Vixen | Skyraider | Skyraider | ||||||
 |
 |
 |
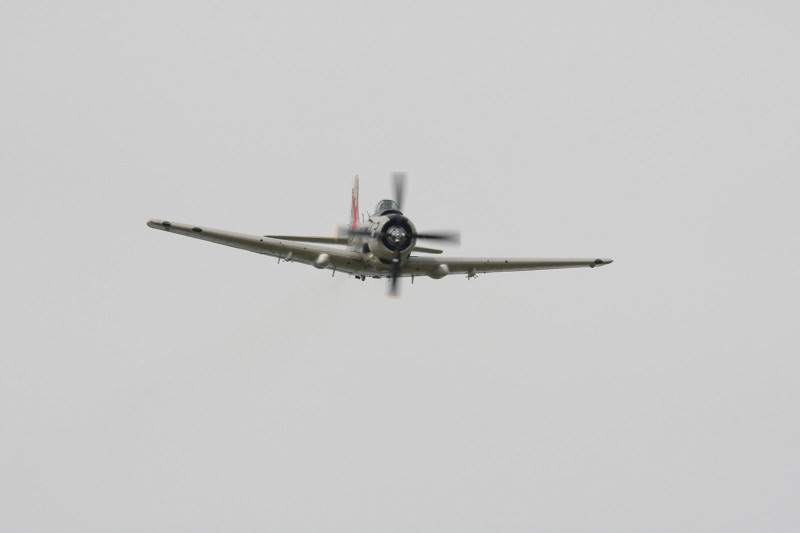 |
 |
||||||
| Spitfire & Mustang | Spitfire | Spitfire | Team Viper | Team Viper | ||||||
 |
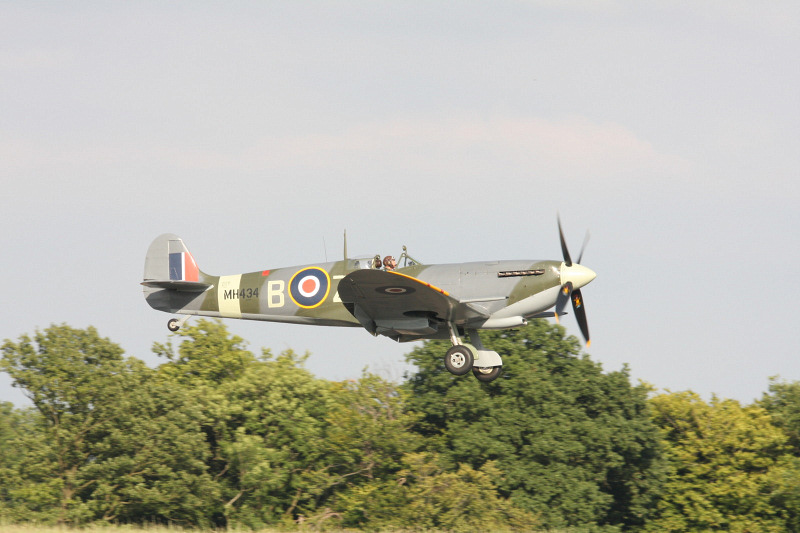 |
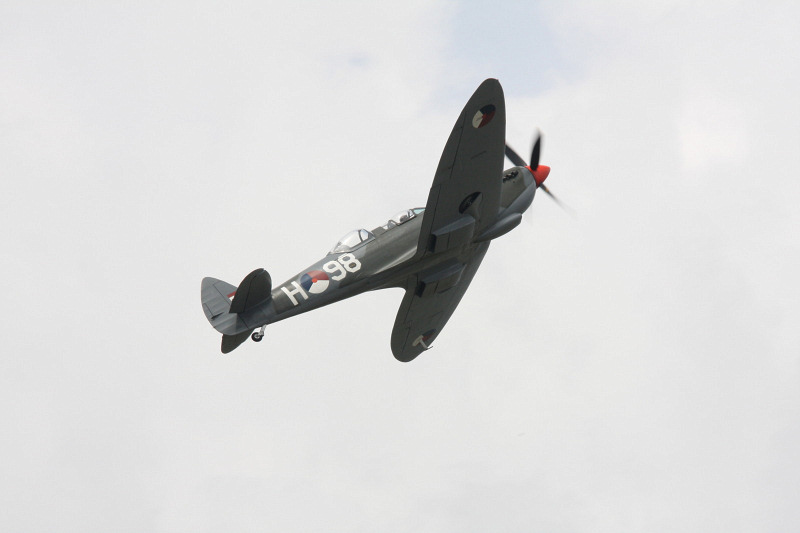 |
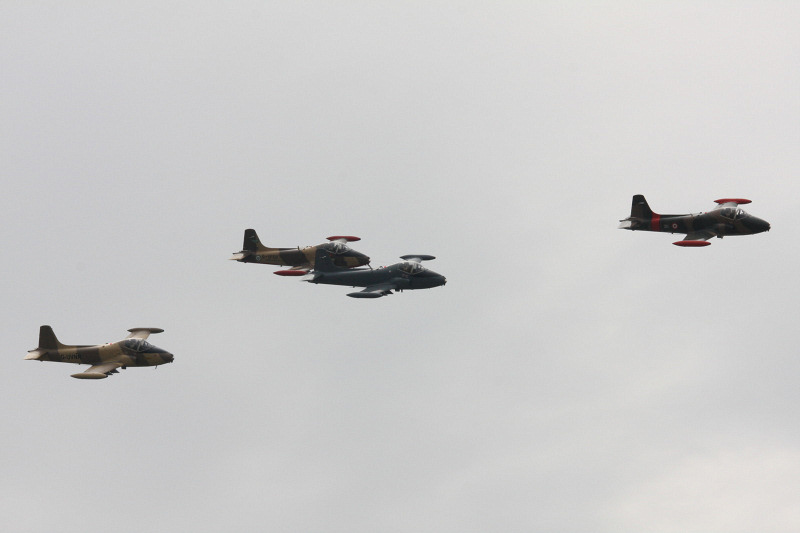 |
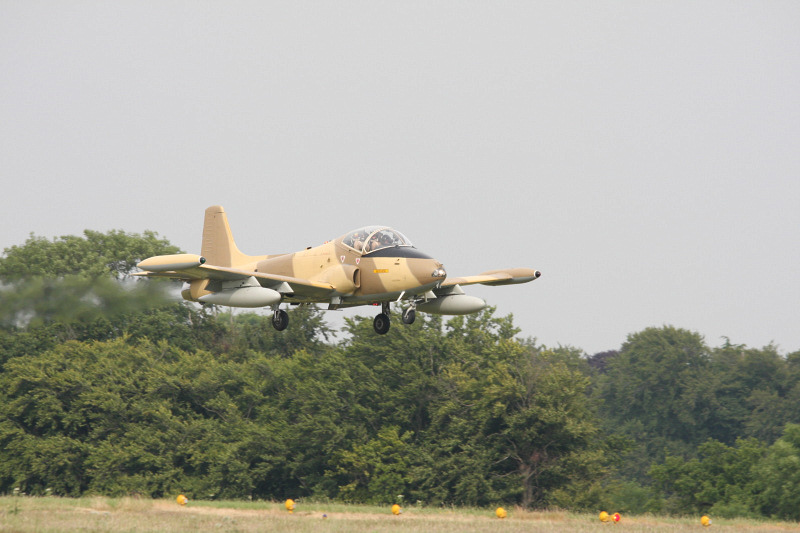 |
||||||
| Team Viper | Team Viper | Team Viper | Team Viper | Typhoon | ||||||
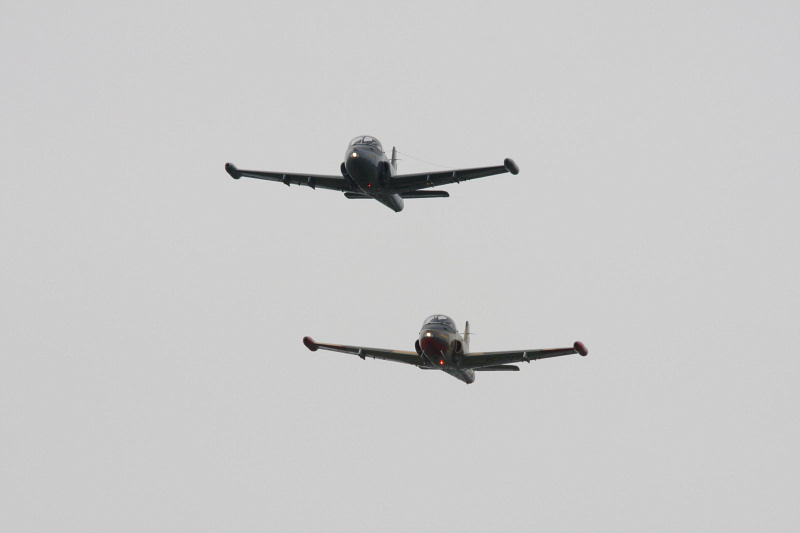 |
 |
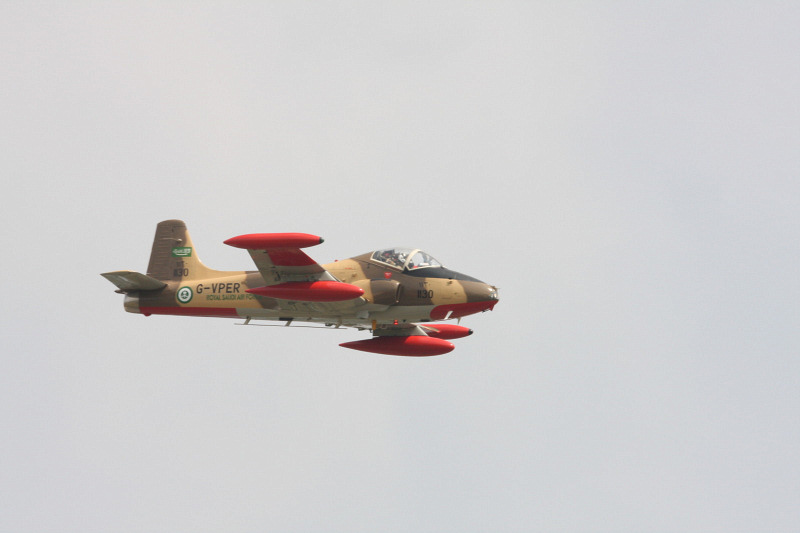 |
 |
 |
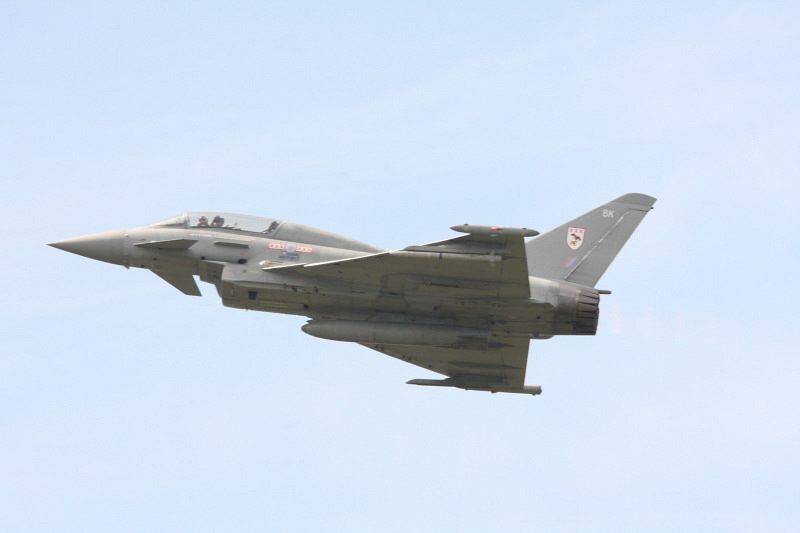
||||||
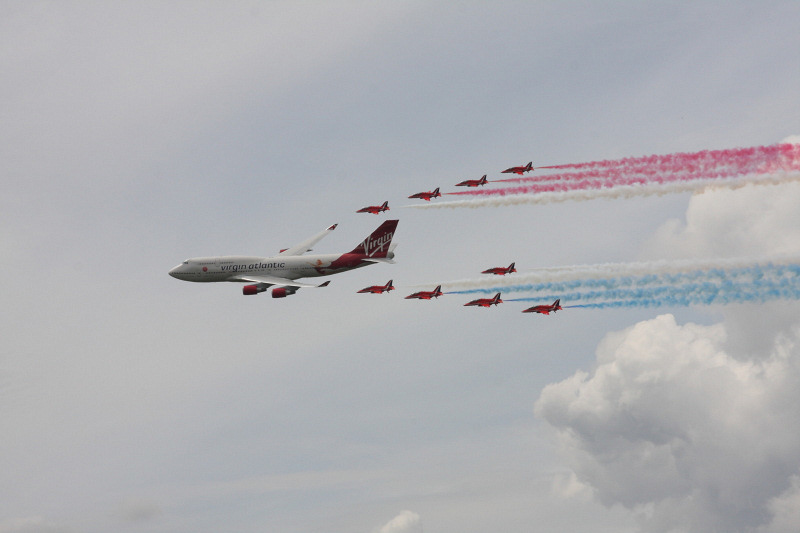
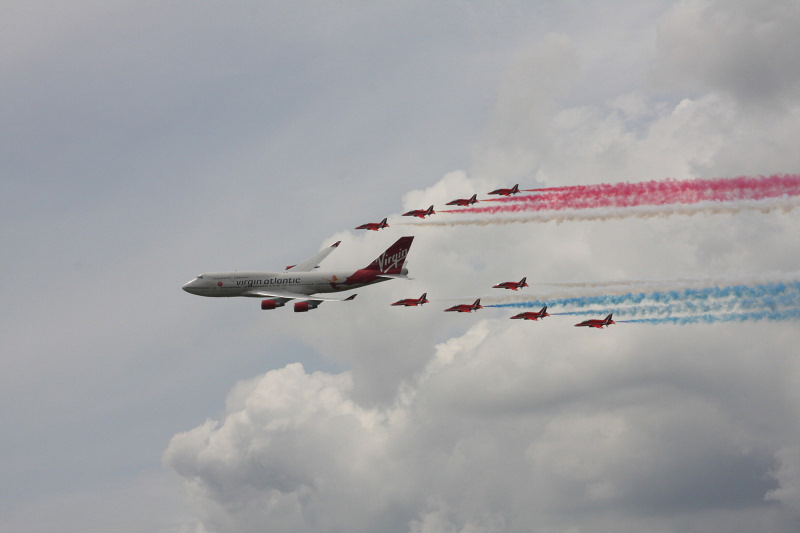
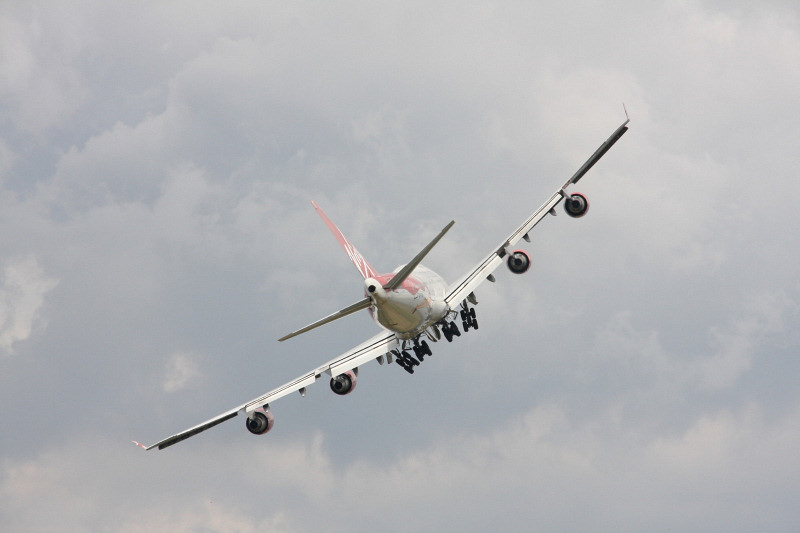
| Typhoon | B-747 & Red Arrows | B-747 & Red Arrows | Boeing 747 | WW1 Display Team | ||||||
 |
 |
 |
 |
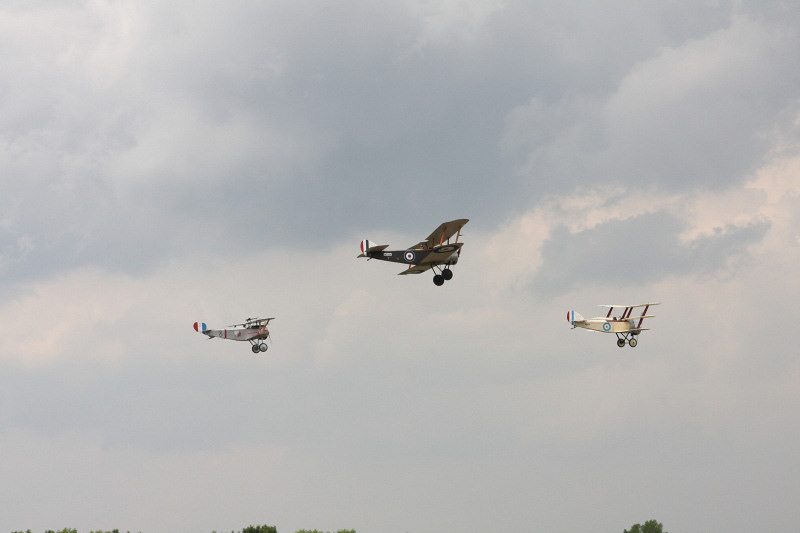 |
||||||
| WW1 Display Team | WW1 Display Team | WW1 Display Team | WW1 Display Team | |||||||
 |
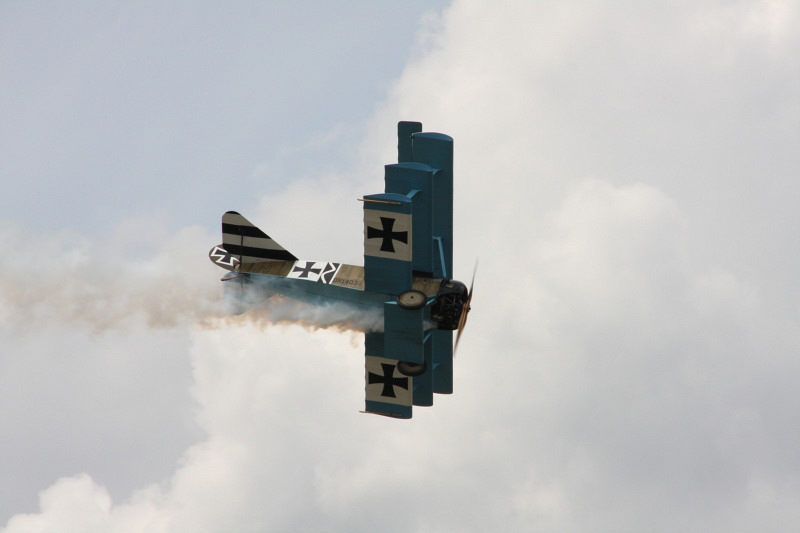 |
 |
 |
|||||||